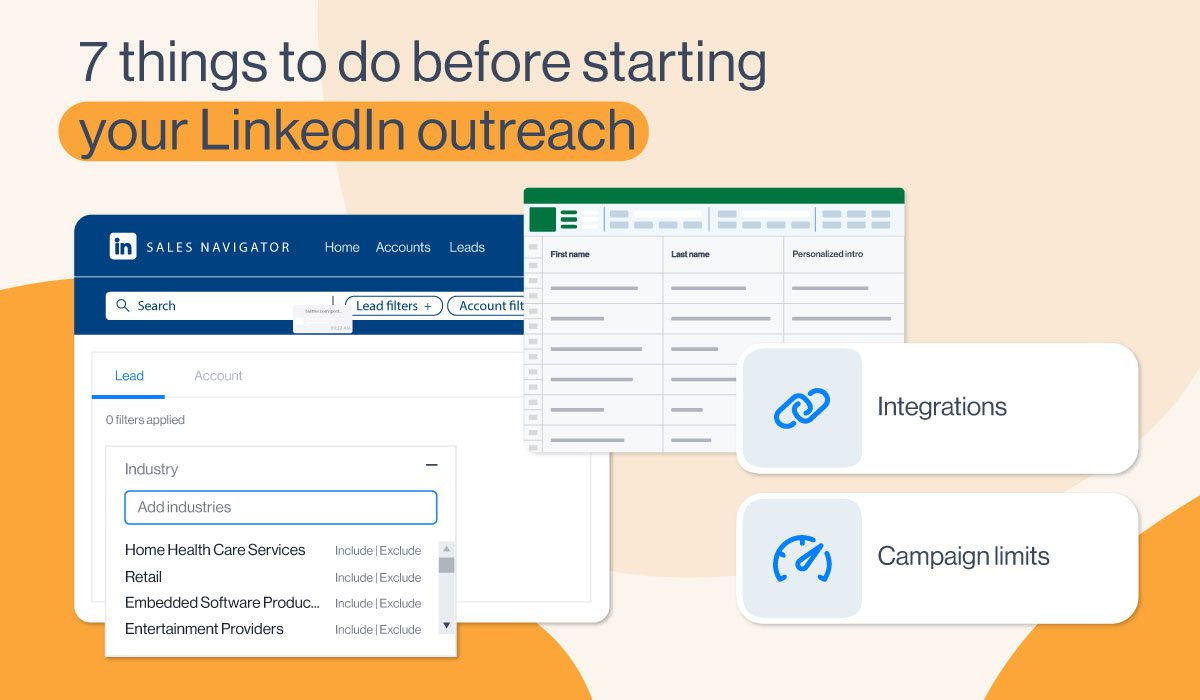
7 Things to do before starting your LinkedIn outreach
There is so much content on the kind of outreach that will enhance your sales, the type of messages that “open all doors”, the right way to nurture your leads, and similar. However, whether new or not to the entire Lead Generation world, check out these 7 things to do before starting your LinkedIn Outreach. We guarantee you they will make a major difference in your conversion rate.
Make your LinkedIn profile a neat-looking professional overview
As the most popular professional social network out there, your LinkedIn profile is the main source of information for your leads and potential clients regarding your business achievements and goals.
That’s why, before reaching out to your prospects, make sure your LinkedIn profile is impeccable.
Start by arranging and checking your headline, profile picture, and summary.
Headline
Usually neglected and underused, the LinkedIn headline is the most important and the most visible part of your profile along with your name and profile picture.
Instead of going for a boring default headline such as “Content Marketing Consultant at Drift”, try being a bit bolder.
Make sure that your headline not only gives in a few words your job description but that it also captivates the attention of those who might be your future customers.
Briefly, to stand out from users who have the same job title, your headline should communicate the benefits that people get out of working with you.
For example:
“Branding|Growth & Content Marketing|If you’re still reading this, then I marketed right.
OR
“Leadership Expert⼁Trainer of 6 Million Leaders⼁Certification Program For Coaches, Teachers, Speakers & Professionals
If you would like to know more on how to write a good headline, check out our blog “13 best LinkedIn headlines to boost your sales”. Get inspired!
Profile picture
Make sure your profile picture is neat and professional.
That means no selfies, party pictures, photos where you visibly had to cut someone else from it, etc.
However, have in mind that your LinkedIn profile picture is not a mugshot either.
Look professional, yet approachable and open to networking.
Summary
First of all, leaving the summary blank is a huge mistake!
With just a little bit of effort, you can write a great summary that draws the attention of your future leads, customers, and maybe even recruiters (depending on what your professional goals are at the moment).
When writing your summary section, have in mind that most users see only the first 300 characters (out of a total of 2000). Only if clicking on “Read more” will they get the full description. However, LinkedIn Recruiter shows the entire summary by default.
That being said, here are a few tips on how to write a good summary:
- Start Strong;
- Use Keywords;
- Mention your greatest accomplishments;
- Point out your goals and ambitions;
- Include your guiding principles.
If you would like to know more about what makes the perfect summary, check out “how to write a LinkedIn summary”.
Define your ideal customer profile (ICP)
Briefly, ICP is a description of your ideal customer.
Defining it means making a perfect base for further tailoring your outreach.
Your sales will grow. You will be able to simplify your business and automate your LinkedIn lead generation. You will perform better with your clients.
Start with defining your target companies, and then outline the people within them.
Begin with:
- Highlighting your top 5 current customers that you’d like to replicate if you could;
- Defining as many attributes as you can for each customer and look at which ones overlap;
- Combining these data and writing down the common characteristics of your ideal customer.
If you would like to know more about how to define your ICP check out our complete guides on defining the ideal customer profile and buyer persona.
Target your leads
Decide how you will target your leads.
LinkedIn VS Sales Navigator
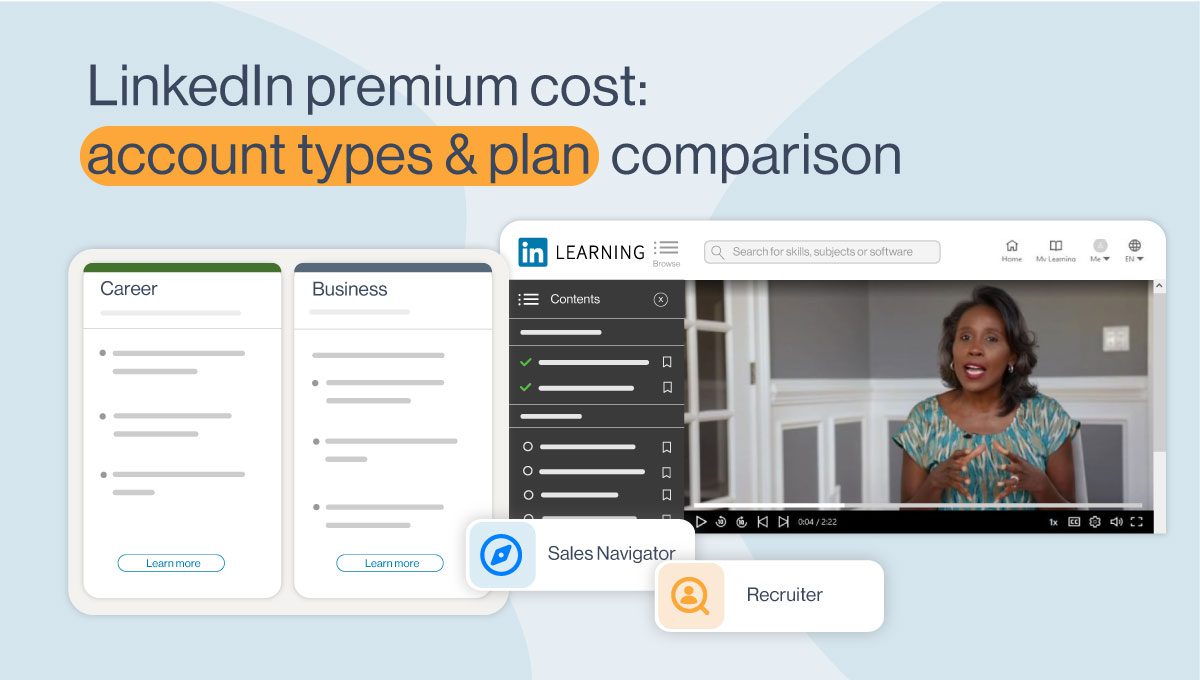
You can use both LinkedIn Basic and Premium, as well as Sales Navigator for your outreach.
However, LinkedIn Premium Account, in comparison to LinkedIn Basic Account, can perform more in terms of features. It has the options of an Unlimited Profile Search and sending 5 paid InMails per month. Each time your leads respond you get your LinkedIn InMail credit back. Use it wisely!
Furthermore, with a LinkedIn Premium Account you can view and engage with a much greater number of profiles. When it comes to filters, they are the same for both Premium and Basic Accounts.
On the other hand, as far as filters as concerned, Sales Navigator is more advanced. You can narrow down your search better and therefore have a higher acceptance/conversion rate. Each month you get to send 20 paid InMails. The “downside” of it is its price. It sometimes turns away the users from buying it.
In case you are going for an automated outreach, know that Skylead supports all of the types of accounts.
To find out how Skylead works and what benefits you could gain from using this groundbreaking Sales Engagement Tool, schedule a demo call and speak to a Skylead specialist.
Moving forward, let us suggest several options for an effective outreach that maybe haven’t crossed your mind.
Their main goal is to increase the quality of your leads.
Target leads through Sales Navigator search by using the spotlights filter
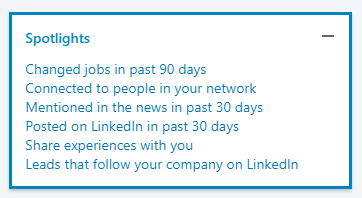
The “Spotlight” filter is particularly useful if you want to narrow down a lead search that gave extended results. By choosing, let’s say - “Posted on LinkedIn in past 30 days”, the chances of improving the quality of your leads are higher, not to mention the cut in the number of prospects. However, keep in mind that even when people do not post on Linkedin, it doesn’t mean that they are inactive.
“Shared experiences with you” includes prospects that worked in the same companies or industries like you, or are members of the same groups.
“Leads that follow your company on LinkedIn” includes prospects that follow your current company’s profile on LinkedIn.
Target leads attending a specific LinkedIn event (here’s a step-by-step guide)
When it comes to Lead Generation, there is no better way of having a high acceptance rate than reaching out to your prospects with a very concrete reference. In this case, targeting leads attending a specific LinkedIn Event, that you will be attending as well, means higher conversion rates.
Go for an advanced and automated prospecting by importing a CSV file
Skylead, for example, offers detailed and automated prospecting by supporting CSV-imported campaigns. Furthermore, it allows you to hyper-personalize your outreach by using variables that match your CSV file’s columns.
Why a CSV-imported Campaign?
Firstly, a CSV file allows you a major quality of leads, as you will be importing them manually. That is, picking and choosing who you want to reach out to whether you do it yourself, import a list of people from your CRM, or buy a leads list.
Secondly, you can use your CSV file to hyper-personalize your outreach at Skylead to the point that each lead can get a different message/part of the message.
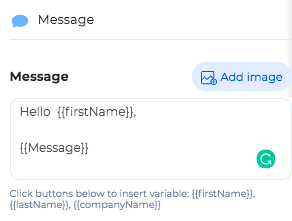
Namely, once imported a CSV, the name of each column becomes a tag that you can use for personalization.
Let’s say you want to prepare a different message for each of your leads. Add a column named, for example, “Message” next to the lead you will be sending it to. Once you import the CSV file into Skylead’s Campaign Creator, each column will become a tag.

The more personalized your outreach is, the higher the acceptance rate will be.
To find out how you can hyper-personalize your outreach by making a CSV-imported campaign, schedule a demo call with a Skylead specialist.
Prepare a template for your outreach
Draft your outreach in advance.
Firstly, decide if you want to target your leads via LinkedIn, Sales Navigator, or a CSV file.
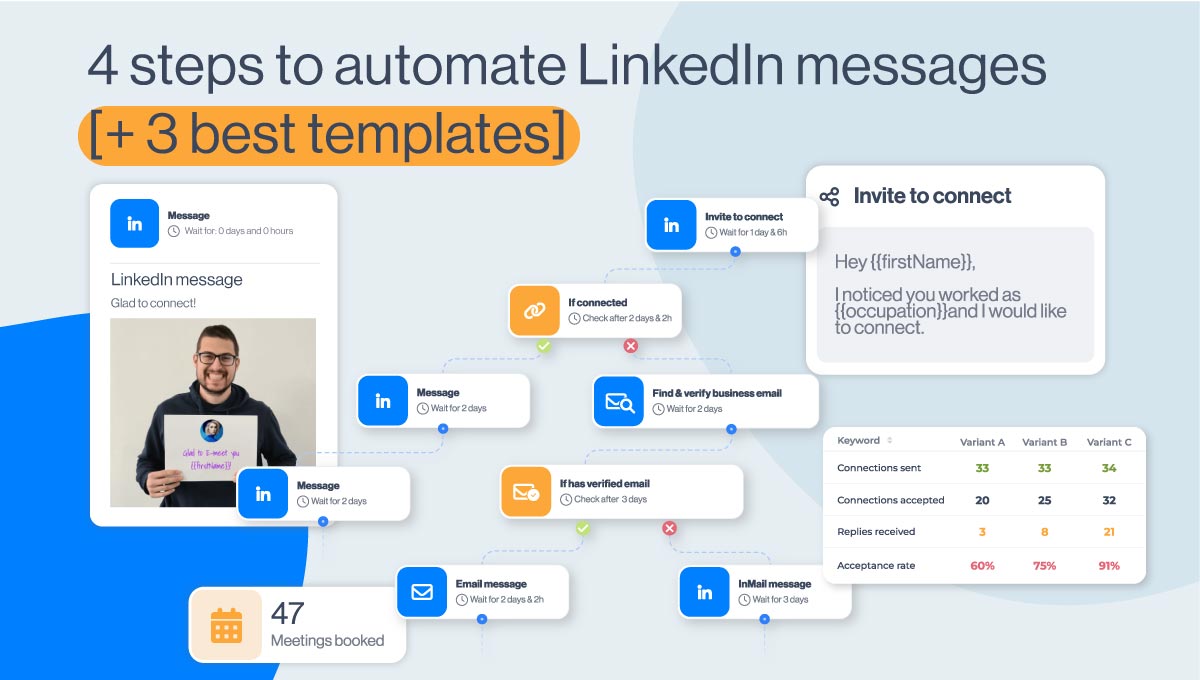
Secondly, choose the flow of your outreach. Draft it in a separate document. If you are thinking of automizing it, have in mind that with Skylead’s Smart Sequences you can combine LinkedIn messages, InMails, and Emails in the most effective way. So, since you already have all of these channels at your disposal, why not use them to their maximum potential? If you are not sure what kind of Smart Sequence will serve your needs the best, you can always check out these templates with real data made by our experts.
Thirdly, think about the copy of your LinkedIn messages/InMails/Emails and how you want to personalize them. Write them out in a separate document and then just copy-paste them into your LinkedIn messages, InMails, or Emails.
Fourthly, decide if you would like to take your outreach to the next level by using hyper-personalized Images and GIFs. Prepare Image or/and GIF template material together with the message copy. Have them ready on your computer.
Know that Skylead users have at their disposal the Image & GIF hyper-personalization feature. Not only are there suggested image templates, for those who need a bit of a creative push, but also an option of importing your own image. Skylead offers a developed tool that allows hyper-personalization on the spot. You can also check out our InMail examples to improve your response rate
If you are using Skylead, here are 3 more additional steps to take before launching your first campaign.
Connect your CRM with your Skylead account
A webhook is a way for an app to provide other applications with real-time information.
Here is how to set up webhooks with Skylead using Zapier (just one of the many webhook providers) to send all of the data that we’ve collected about the lead to a spreadsheet, CRM, or any other tool that Zapier, in this case, is supporting. You can, of course, use other webhook providers if you have any preferences.
Open up your dashboard and go to the Integrations tab of your Skylead account. Here is where you can see all of the webhook you’ve set up and create new ones.

Click on the “Create new webhook” button at the top right of the page.
For now, we will leave the dashboard and go to Zapier to set everything up there since we’ll need the callback URL that is generated through their service.
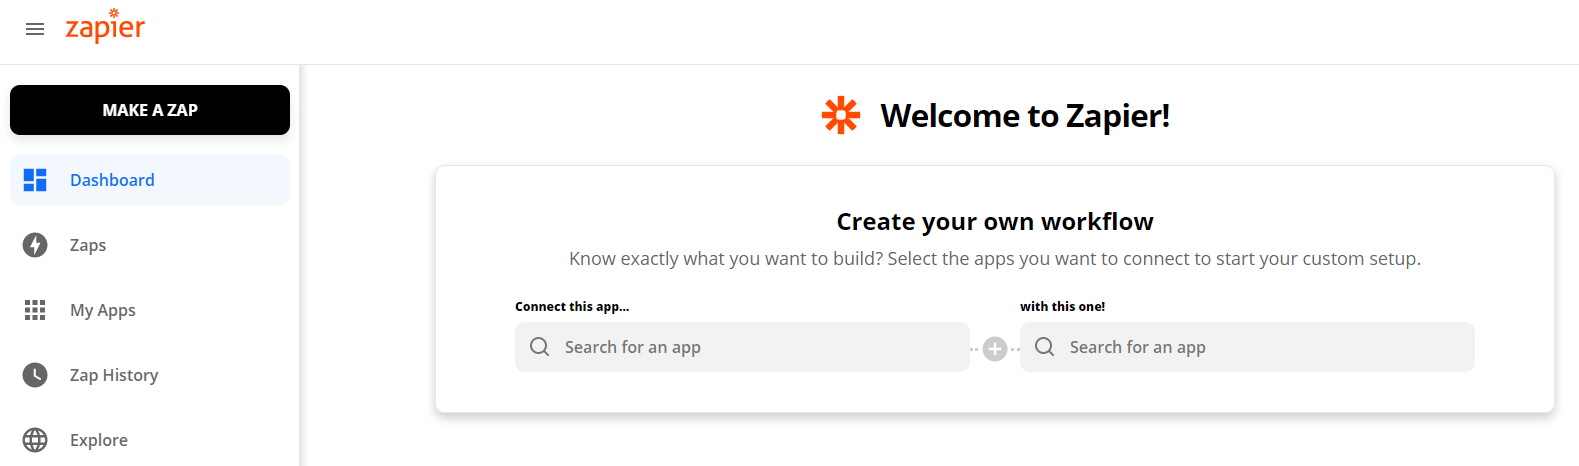
On Zapier, on the left side, press the “Make a zap” button.
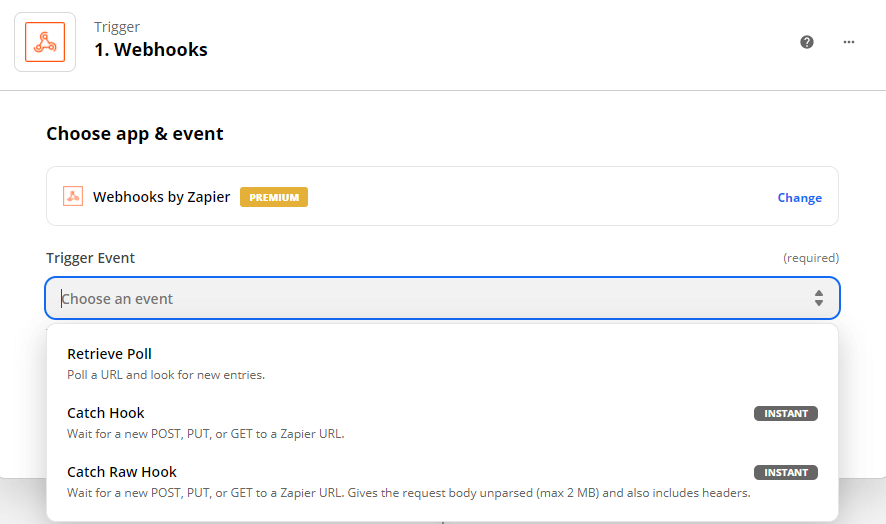
For the trigger, you want to choose the option “Webhook” (bottom right corner).

Under the “Trigger Event” select “Catch Hook” and “Continue”.
Now you will be provided with a Custom Webhook URL. Copy it and paste it back to Skylead in the Callback URL field.

Now that we’re back on the dashboard, let’s talk about the different event options that you can choose from to act as a trigger for the webhook.
Basically, every time a selected event happens, the webhook fires, and Skylead will send all of the information from that lead directly to the tool you’ve chosen (CRM or Spreadsheet).
Skylead supports when:
- A contact is invited to connect;
- When a message is received from a contact (in the case of a lead responding to your email, only the data about the lead will be pushed through and will not include the message itself which is protected by Google’s Security Policy);
- A contact accepts connection;
- Sent all connection requests - this refers to the campaign as a whole;
- A contact replies.
Those are all of the events that will trigger the webhook automatically without you having to do anything extra and they relate to all leads.
If you want to choose to send the information of only specific leads to your tool, you can select the new “When a chat label is added” option. This refers to the labels that you can put on your chat in Skylead’s Smart Inbox. Choose the label that you want to associate with the webhook. Each time you put a label on a lead in chat, the webhook will fire.
After selecting the trigger event that you would like to use for your webhook, be sure to test it on the right side of the screen and see if the trigger is firing.
One thing to note: You would need to have a version on Zapier Premium to use the Webhook option since it’s not available for free accounts.
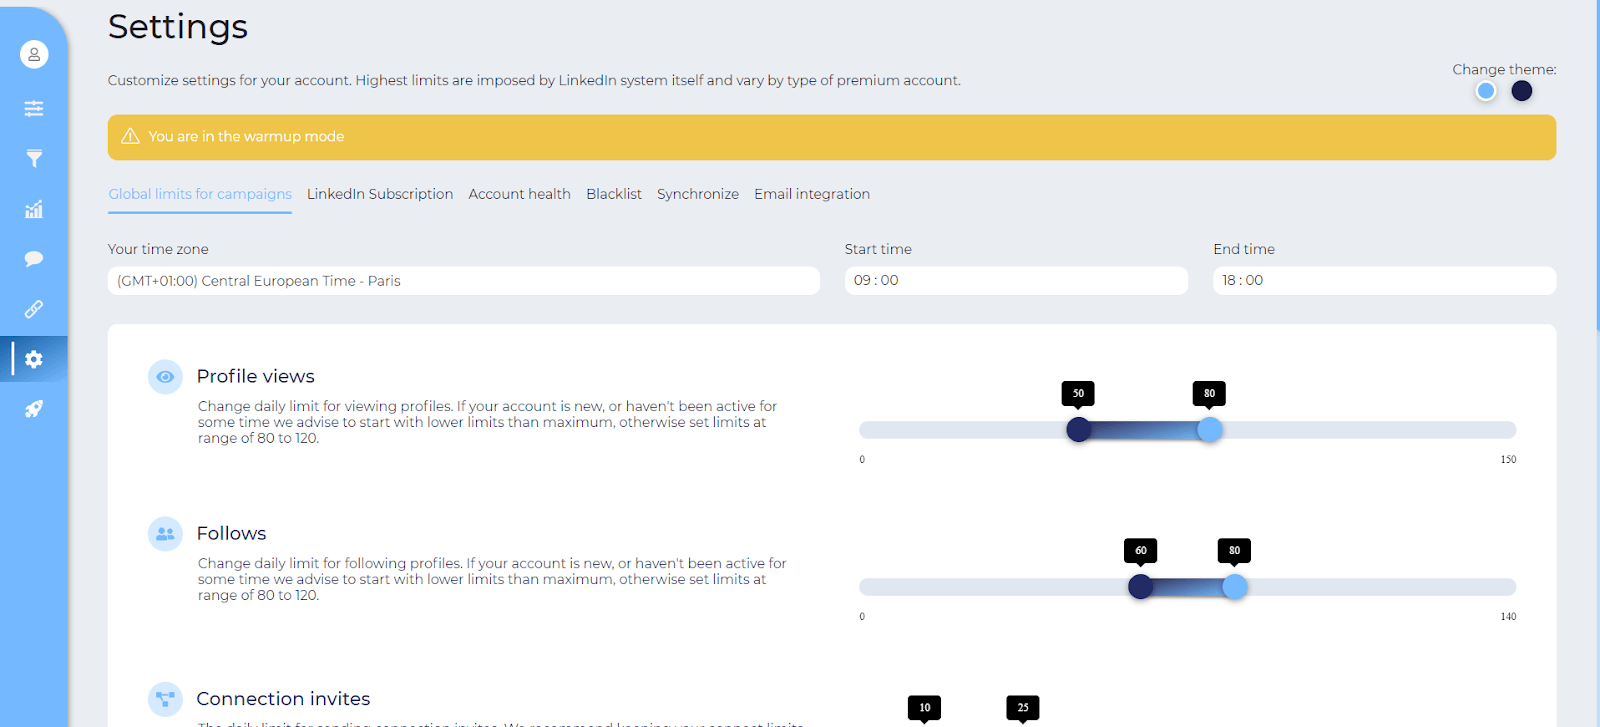
Set up your campaign limits
If you want your campaigns to run efficiently and smoothly, make sure that you’ve set the right campaign limits within your Skylead Account.
Additionally, setting the limits will not only spare your campaigns a bumpy ride but also your LinkedIn profile, a LinkedIn jail and restrictions.
In Skylead, the limits apply to all of your campaigns. That is, to your entire account. Make sure to set them properly.
Limits go by availability. For example, if one campaign is “Viewing” profile and the other one has already moved to “Sending Requests”, then the limits will be distributed accordingly.
Let’s go through each of the options, step by step.
Each of these limits equals steps that you use when making Simple or Smart Sequences. That is why our advice is not to put too many of the same steps in your campaigns. Your daily limits will be exceeded faster and this will significantly slow down your campaign.
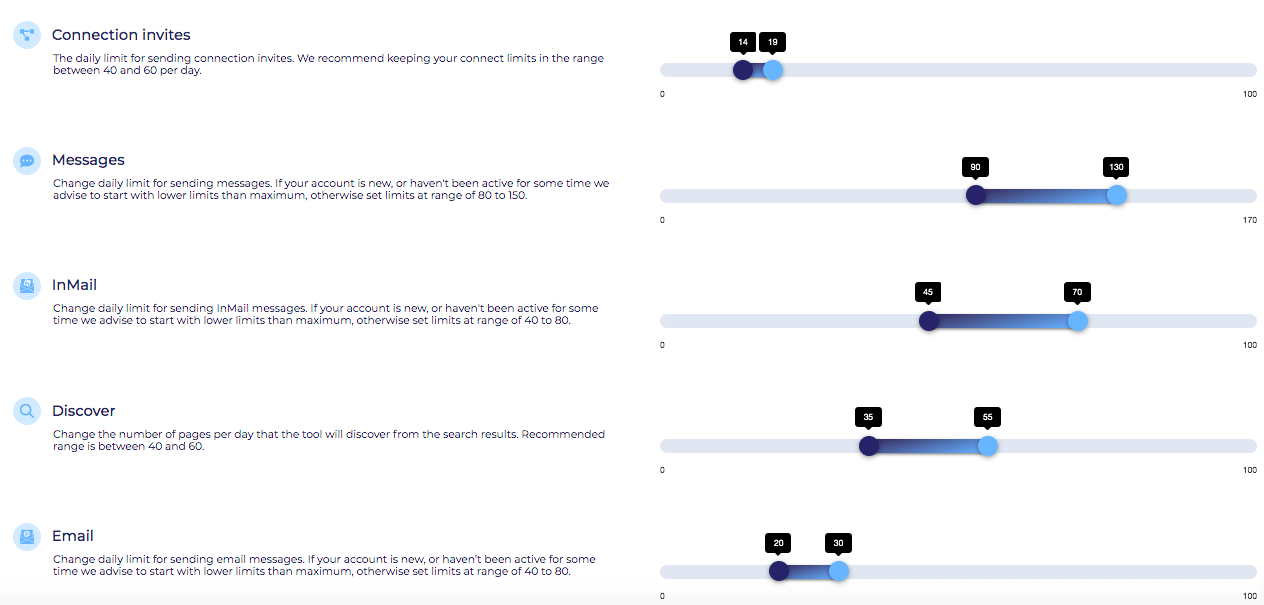
The “Discover” option is not an actual step in your campaign. It refers to how many searches you can make on your LinkedIn account. This is when restrictions mostly happen. If you have a basic (Free) LinkedIn account, the rules are stricter. After a certain number of searches, your profile is likely to be restricted. LinkedIn Premium and Sales Navigator, on the other hand, have the advantage of an Unlimited Search Option. Simply, the higher the subscription plan is on LinkedIn the higher the limits are.
Usually, LinkedIn flags you for Connection Invites, View Profiles, and Discovery. We advise you to keep these as low as possible, especially due to the newest LinkedIn restrictions. The most common bans happen for Connection Requests. If you see that you got flagged by LinkedIn, try to keep this feature at the lowest possible limits.


Also, as much as Emails don’t undergo the LinkedIn restrictions, it is best to keep this number reasonable and similar to other channels of outreach. You still want your campaign to seem as humanly done as possible, correct? Therefore, anything between 25 - 50 emails a day is acceptable. If you send more than that, some of your emails might end up in the Spam folder.

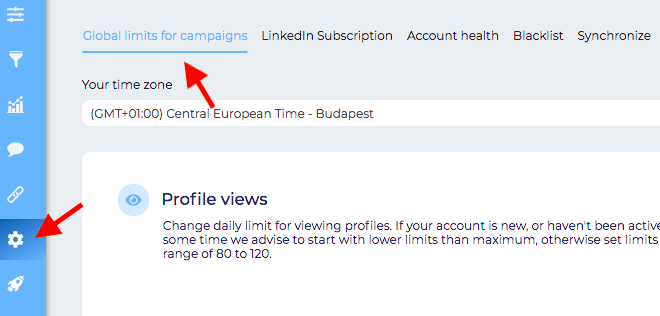
As the main focus of the Skylead team is to keep the users safe while still doing the maximum number of interactions, there is something called a “Warm Up Mode”.
The Warmup Mode is tied directly to the Global Limits for Campaigns. It can be found under the Settings tab.
When first starting out with Skylead, the interactions that your account will be doing will be a lot lower than the recommended limits. This is done to make sure that your LinkedIn profile doesn’t send too many interactions and to help avoid raising any potential red flags.
The Warmup Mode lasts for 3 weeks and it increases the number of interactions weekly until it reaches the recommended number of interactions for the profile.
You can always exit Warmup Mode by manually adjusting the interaction numbers.

As you can see in the prompt that appears when wanting to exit Warmup Mode, we don’t advise you to do that. Your numbers will eventually reach the recommended limits and you will be able to maximize your engagement as safely as possible.
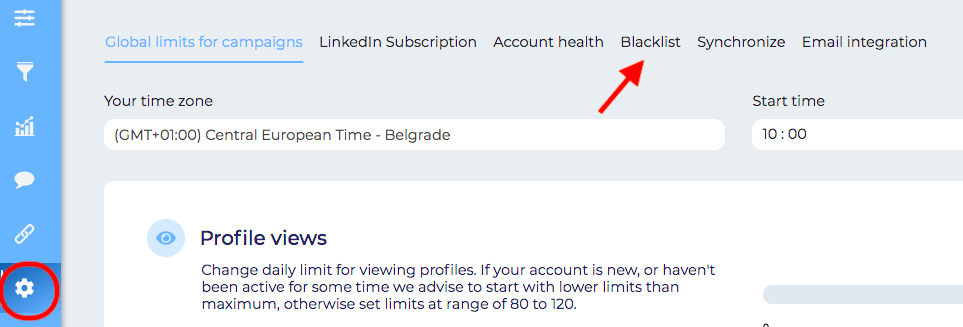
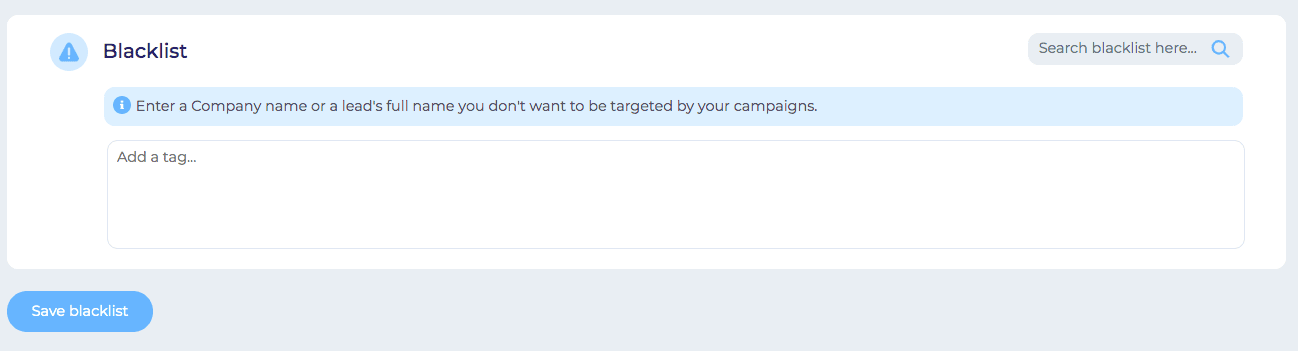
Update your blacklist
The purpose of Blacklist is to avoid certain people and/or companies being included in your campaigns. You need to set it beforehand because once you notice a lead that you don’t want in your campaign, you will need to delete it manually.
Namely, this option is very practical in case you want to avoid your competition, a certain company, their employees, etc.
First, open Skylead’s Settings Page and select the “Blacklist” option.
Here you have two options:
- Inserting a certain company name;
- Inserting a certain lead’s personal name and surname.
- From that moment on, every following campaign will exclude those leads. If you had them in your previous outreach, they will not be excluded. As mentioned before, you will have to go back to that particular campaign and delete them manually.
- Also, have in mind that URLs will not work. If you insert somebody’s profile URL it will still discover and target that person or company.
There is no limit to how many full names and company names you can include in your blacklist.
Summary
Whoa, you made it!
It might have been rough, but have in mind that preparing for the outreach in the right way is as equally important as the outreach itself.
With a little bit of extra effort, your outreach could run more smoothly, and the acceptance rate could be far higher. And that’s what we all want, correct?
Therefore, if you are ready to automate your LinkedIn prospecting, consider Skylead. It is an advanced Sales Engagement Tool with groundbreaking solutions for multichannel outreach. Not only will you get more personalized touchpoints with your prospects, but once you set up your campaigns the right way, you can basically put your sales process on autopilot.
In case we managed to intrigue you schedule a demo call with a specialist from our team and see how Skylead can make your life easier.
If already our user, and you would like to get more information on how to prepare your Campaign properly, feel free to reach out to our Customer Support & Success Superteam via chat on our website.